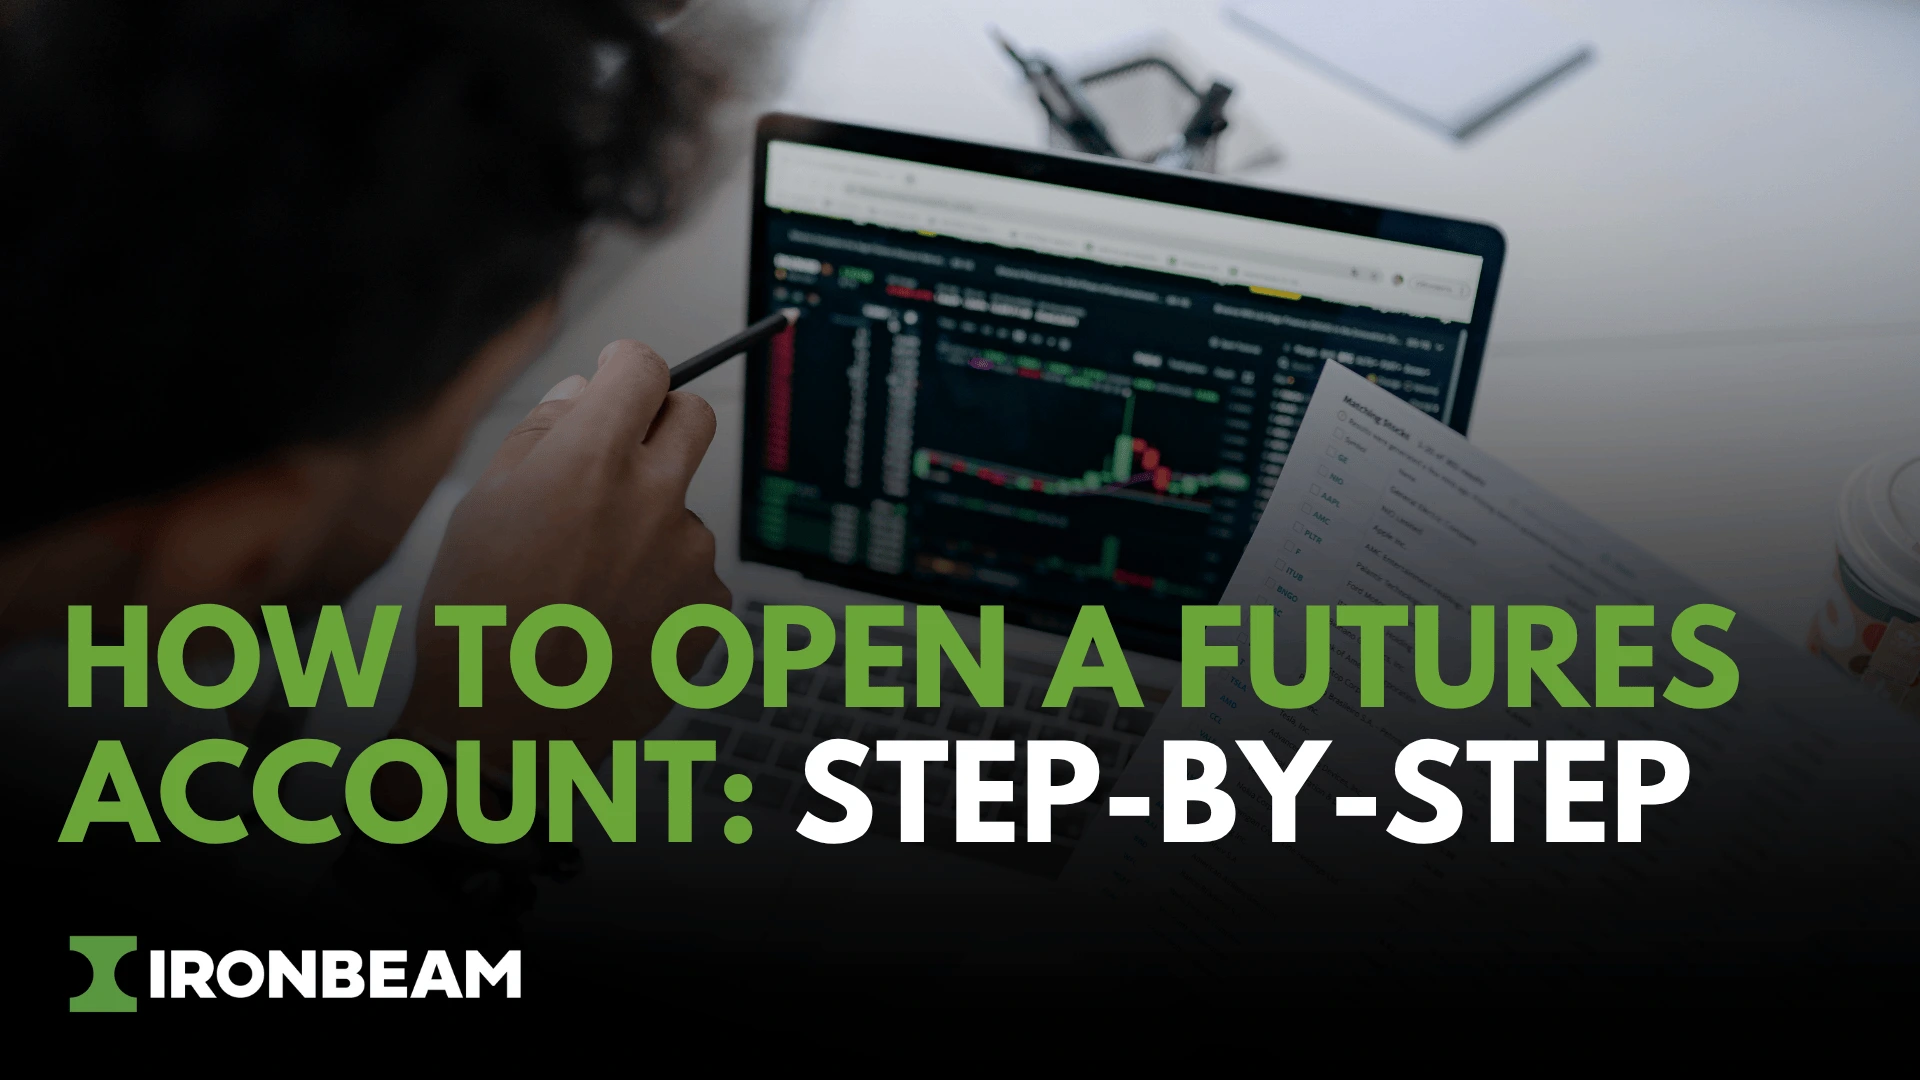
How to Open a Futures Trading Account: Step-by-Step
Opening a futures trading account is faster than most people expect. If your identity is verified automatically, your account can be approved in seconds. The application itself takes about ten minutes to complete, and manual review is only required in cases where additional documentation is needed.
What takes more time than the application is making sure you understand what you are signing up for before you fund. Futures are leveraged instruments, and the account structure reflects that. This guide walks through every step of the process, from choosing a broker to placing your first trade, with specific details on what Ironbeam requires and what you can expect at each stage.
Step 1: Choose a Regulated Futures Broker
In the United States, firms that accept customer funds and clear futures trades must be registered as a Futures Commission Merchant (FCM) with the Commodity Futures Trading Commission (CFTC) and be members of the National Futures Association (NFA). This is not optional. It is the regulatory framework that protects your funds.
Ironbeam is a registered FCM and a CME Group clearing member. Customer funds are held in segregated accounts, separate from company operating funds, under direct regulatory oversight. When you evaluate any futures broker, verifying their CFTC and NFA registration should be your first step. You can confirm registration at nfa.futures.org.
Beyond regulatory status, look at:
Commission structure: Futures commissions are typically quoted as a per-round-turn fee covering both the opening and closing of one contract. Know this number before you commit.
Margin Rates: Exchange minimums are set by CME Group, but brokers can offer reduced intraday rates. Ironbeam’s intraday margins start at $50 on micro futures contracts. View Day Margin Rates
Platform Options: You should be trading on a platform that fits how you work. Ironbeam supports multiple third-party platforms including Sierra Chart, Rithmic, and others. View Trading Platform Options
Support Availability: Futures markets run nearly 24 hours on weekdays. Your broker’s support hours should reflect that.
Step 2: Select Your Account Type
Before starting the application, decide which account structure fits your situation. The most common options are:
Individual Account: The standard account for a single person trading with personal funds. This is what most retail traders open.
Joint Account: An account shared between two individuals, typically spouses or business partners. Both account holders must complete identity verification.
Corporate or LLC Account: For traders who operate through a business entity. These require additional documentation including operating agreements and beneficial ownership information.
IRA Account: Some FCMs allow futures trading within a self-directed IRA. This involves a custodian arrangement and has specific restrictions on margin use.
For most traders starting out, an individual account is the right structure.
Step 3: Complete the Online Application
The application covers several areas and is completed entirely online. Ironbeam’s process typically takes under ten minutes.
Personal Information
Name, address, date of birth, Social Security number (or Tax ID for non-U.S. applicants), and citizenship status. This information is used for identity verification under federal and regulatory KYC (Know Your Customer) requirements.
Financial Disclosures
You will be asked for your annual income, liquid net worth, and total net worth. These figures inform the broker’s suitability review. Be accurate. These disclosures are regulatory requirements, not suggestions, and they help ensure futures trading is appropriate for your financial situation.
Trading Experience
Most applications ask about your prior experience across asset classes and your familiarity with futures specifically. First-time futures traders are not disqualified by lack of experience, but honesty here helps the broker provide appropriate guidance.
Risk Disclosures
You will be required to read and acknowledge various risk disclosure documents, including but not limited to, the CFTC-mandated Risk Disclosure Statement for Futures and Options. Read these carefully. These disclosures cover several topics, including how futures trading can result in losses that exceed your initial deposit.
Step 4: Submit Identity Documentation
After completing the application, you will verify your identity. This typically requires:
- A government-issued photo ID (passport or driver’s license)
- Proof of address (a utility bill, or similar document dated within the last 90 days)
If the system verifies your identity automatically, your account can be approved in seconds. Manual review by a compliance team member only occurs when the automated process cannot confirm your information or when additional documentation is needed. Watch your email during this window if that applies to your application.
Non-U.S. traders can open accounts at Ironbeam. If you are outside the United States and want to confirm your country of residence is eligible, reach out to [email protected] before applying.
Step 5: Fund Your Account
If your account is approved, you need to fund the account before placing live trades. Ironbeam supports two primary funding methods:
ACH Deposit: A bank transfer from your checking or savings account. Typically takes three to four business days to settle. This is the most common method for initial funding.
Bank Wire: A same-day or next-business-day transfer for larger deposits or traders who want to start trading quickly. Wire instructions are provided in your account portal after approval.
One important detail: the name on your bank account must match the name on your trading account. Mismatched names will delay or prevent the transfer from processing.
How much should you deposit? Ironbeam has no account minimum. However, opening an account with only enough to cover the margin on a single contract is not a sound approach to risk management.
Step 6: Set Up Your Trading Platform
After funding, you will receive Ironbeam platform access credentials. Ironbeam supports multiple platforms, so confirm the setup steps in your welcome email or reach out to support if you have questions about your specific platform choice.
Once logged in:
- Configure your workspace and chart layouts
- Add the contracts you plan to trade
- Verify your market data subscription is active
- Review margin requirements for each contract you intend to trade
- Familiarize yourself with the order screen before placing a live trade
Step 7: Place Your First Trade
When you are ready to trade live, the order entry process on any futures platform follows the same basic sequence:
- Select the contract and expiration month
- Choose your order type (market, limit, or stop)
- Set the quantity (number of contracts)
- Confirm direction (buy to go long, sell to go short)
- Submit the order
Before that first live order, make sure you understand tick size and tick value for the contract you are trading. A single tick move in the ES is worth $12.50. In the NQ it is $5.00. Knowing this before you are in a position is not optional.
Account Maintenance: What Happens After You Open
A few ongoing responsibilities come with a live futures account.
Margin monitoring. Your account balance must stay above the maintenance margin threshold for any open positions. If it falls below, you will receive a margin call and must deposit additional funds or have positions liquidated. Check your balance before and during trading sessions.
Overnight positions. Holding a position past the close of the regular session means overnight margin requirements apply. These are typically higher than intraday rates. Know those thresholds before you hold anything after hours.
Contract rolling. As a contract approaches expiration, you will need to close the expiring position and open a new one in the next contract month if you want to maintain your exposure.
No PDT rule. Unlike stock trading, futures traders are not subject to the Pattern Day Trader rule regardless of account size. There is no three-trade-per-week restriction and no $25,000 minimum to day trade freely.
Tax records. Futures gains and losses are reported under IRS Section 1256 rules. Your broker will provide a 1099-B at year-end, but keeping your own trade records throughout the year makes the process significantly less painful.
Frequently Asked Questions
How long does it take to open a futures account at Ironbeam?
If your identity is verified automatically, your account can be approved in seconds. The application itself takes about ten minutes. Manual review only applies when additional documentation is required.
Can I open an account if I have never traded futures before?
Yes. No prior futures experience is required to open an account at Ironbeam.
Is there a minimum deposit at Ironbeam?
No. Ironbeam has no account minimum. That said, trading with only enough to cover margin on one contract carries significant risk.
Can traders outside the U.S. open an account?
Yes, Ironbeam accepts international traders from most eligible countries. Contact [email protected] to confirm eligibility before applying.
What if my application needs additional review?
Ironbeam’s team will contact you by email if additional documentation or information is needed.
What is the difference between a futures broker and a stock broker?
A futures broker must be registered as an FCM with the CFTC, while stock brokers are regulated by FINRA and the SEC. The regulatory frameworks, account structures, and margin rules are entirely separate.
Trade Smarter with Ironbeam
Open an account with Ironbeam today and get access to 24-hour customer support, free market data, and a professional-grade trading platform. Start trading smarter with the tools and resources you need to succeed.
Disclaimer: There is a substantial risk of loss in trading commodity futures and options products. Losses in excess of your initial investment may occur. Past performance is not necessarily indicative of future results. Please contact your account representative with concerns or questions.