
Set Up Your First Ironbeam Trading Workspace
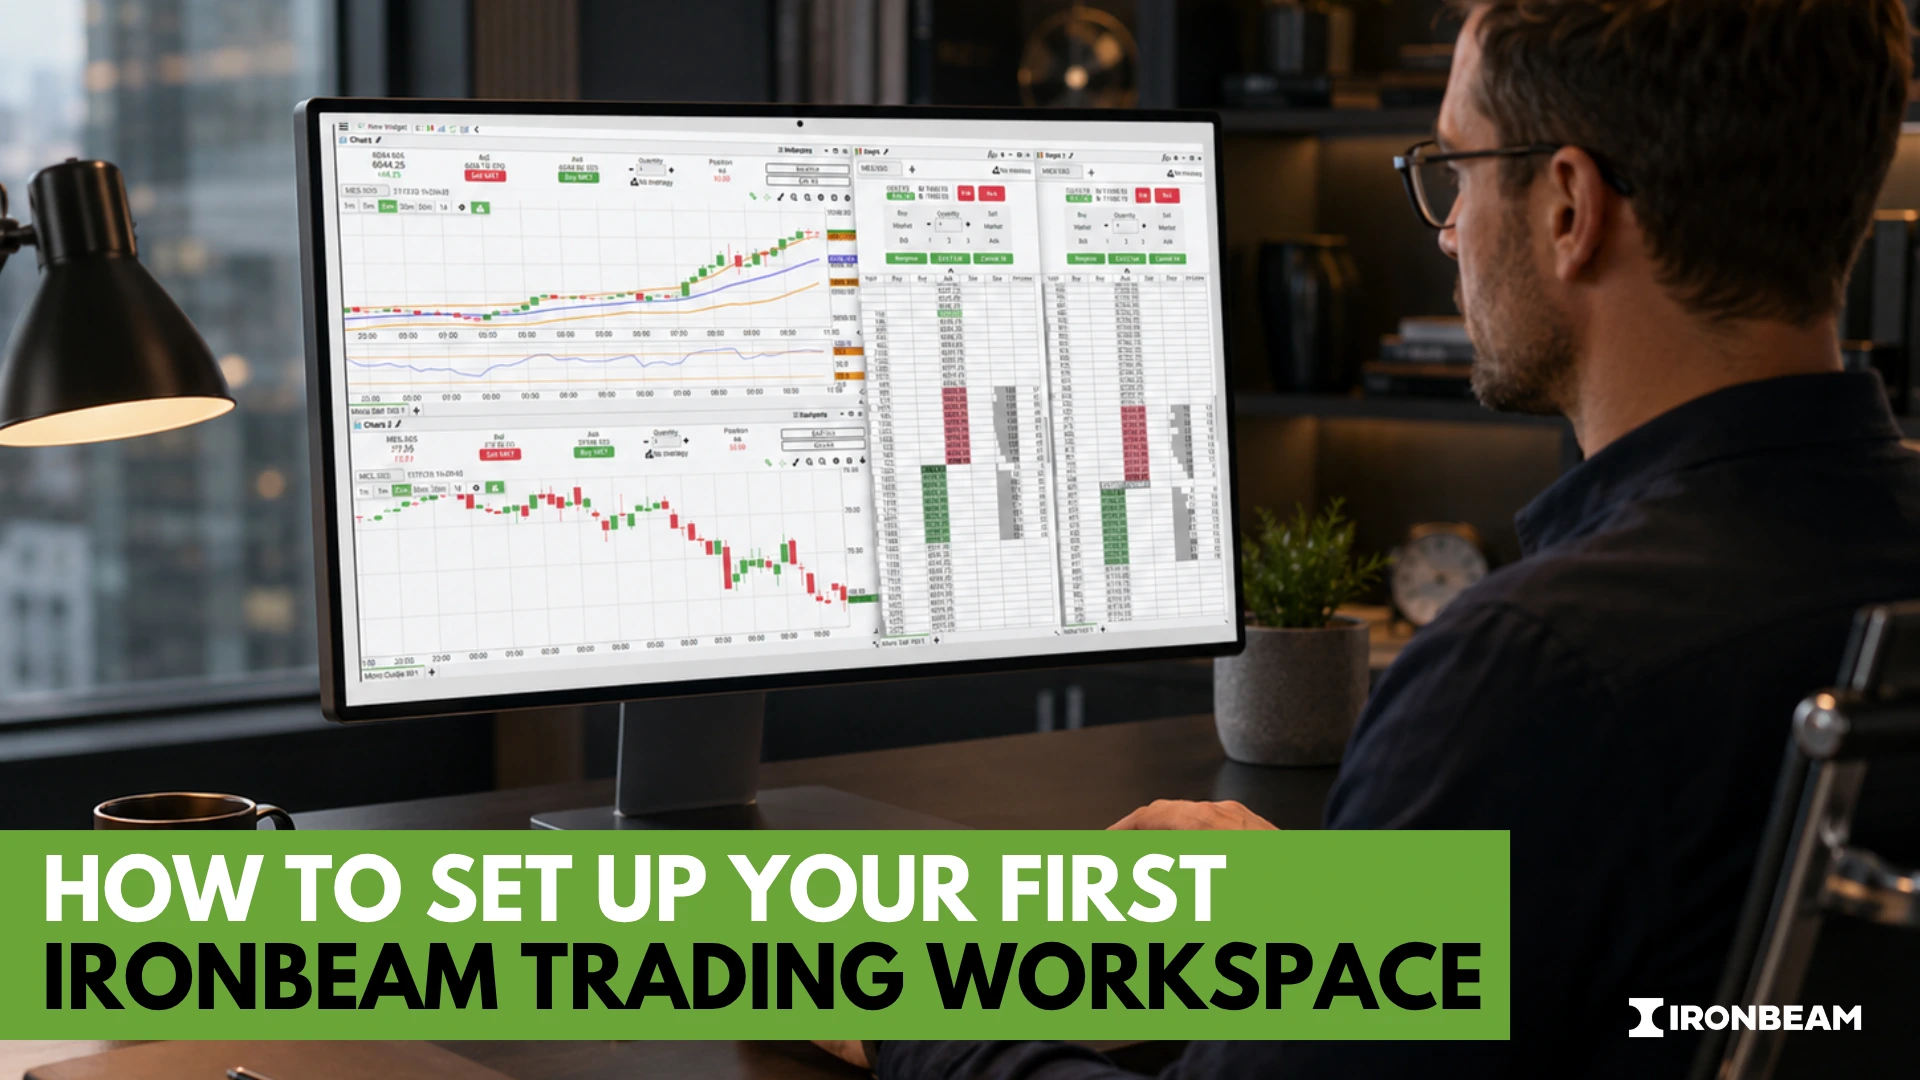
Setting up an Ironbeam trading workspace means configuring your personal trading dashboard on a professional futures broker’s cloud-based futures trading platform: quotes, charts, order entry, and account panels arranged the way you actually trade. You accomplish this once, save it, and load your exact setup every session instead of rebuilding your screen from scratch. A well-built workspace saves time and reduces order-entry mistakes when markets move fast.
What Do You Need Before You Start?
You need an active Ironbeam account, either live or demo, before you can build a workspace on Ironbeam’s cloud-based futures trading platform. Ironbeam offers a free demo account for practicing with simulated funds, and a live account once you’re ready to trade real capital. Funding requirements vary by the futures products you plan to trade, so make sure you check our current intraday margins requirements before getting started.
Ironbeam’s platform runs on web, desktop, and mobile, so you can start building your workspace on whichever device you prefer. The web platform requires no download and works from any modern browser. The desktop application offers the deepest customization for multi-monitor setups, while mobile is built for monitoring positions and managing orders on the go.
Step-by-Step Workspace Setup
Building your first workspace is a linear process. Follow these steps in order the first time through, then adjust individual pieces as you get comfortable.
- Log in to your Ironbeam account. Use your credentials on web, desktop, or the Ironbeam mobile app depending on your device.
- Create a new workspace. From the platform dashboard, start a blank workspace rather than using a default template, so you learn where every widget lives.
- Choose a color theme. Ironbeam’s cloud-based futures trading platform supports light and dark themes; pick whichever reduces eye strain during your typical trading hours.
- Add the Quotes widget. Drop in a Quotes panel first and populate it with the futures contracts you plan to watch, since most other widgets reference symbols from here.
- Set up the Depth/DOM/ladder view. Add the Depth (DOM) widget for your primary contract to see live bid/ask ladder data, which is essential for precise order placement.
- Add charts. Insert a charts widget and enter a symbol from your Quotes panel. You can also click on any product on your Quotes panel and open a chart from there.
- Apply indicators. Open the chart’s indicator menu and add the studies you rely on, such as moving averages or volume overlays, directly onto your chart.
- Configure the order book and account detail panels. Add an Order Book widget to track working and filled orders, plus an Account Details panel to monitor balance, margin, and P&L in real time.
Once these eight widgets are placed, resize and arrange them so your DOM and order entry sit closest to your primary monitor’s center, since that’s where your eyes return most often.
How Do You Configure Bracket and OCO Orders?
A bracket order lets you enter a position with a stop-loss and profit target attached at the same time, and an OCO (One-Cancels-Other) order lets two conditional orders coexist so that filling one automatically cancels the other. Configuring these inside your workspace on the Ironbeam platform takes just a few clicks once your DOM and order entry panel are in place.
- Open the DOM or order entry panel for the contract you want to trade.
- Select the bracket order type before placing your entry order.
- Set your stop-loss distance and profit target distance relative to your entry price.
- Submit the order; the platform automatically creates the linked stop and target as an OCO pair.
- Monitor the bracket in your Order Book widget, where filling either the stop or target cancels the other leg automatically.
Test this sequence on your demo account first. Bracket and OCO logic behaves the same way in demo and live environments, so practicing here costs nothing but teaches you the exact click sequence under real market speed
Customizing Your Workspace
Once your core layout works, refine it around how you actually trade rather than how a tutorial says to trade. The desktop platform supports multi-monitor setups, so you can stretch charts across one screen and keep DOM, order book, and account details on another. This separation reduces accidental clicks during fast markets because your execution tools aren’t crowded next to charts you’re just observing.
Build out a dedicated watchlist inside your Quotes widget for contracts you trade regularly, separate from symbols you’re only researching. Ironbeam’s cloud-based futures trading platform also supports price and account alerts, so you can get notified when a contract hits a level instead of watching it manually all day. Once your layout, watchlist, and alerts are set the way you want, save the workspace as a named layout. This lets you reload the exact same setup instantly on your next login instead of reconfiguring widgets from memory.
Common Setup Mistakes to Avoid
New users tend to make the same handful of errors when building their first workspace. Watching for these upfront saves you from relearning the platform mid-trade.
- Not saving your layout after making changes, which forces you to rebuild your workspace from scratch on your next login.
- Skipping demo testing on bracket and OCO orders before using them with real capital.
- Overcrowding one monitor with too many widgets instead of spreading charts, DOM, and order book across available screens.
- Misconfiguring alerts with thresholds too close to current price, causing constant, unhelpful notifications.
Frequently Asked Questions
Can I use Ironbeam on mobile?
Yes. Ironbeam’s professional futures broker platform is available on web, desktop, and mobile, so you can monitor positions and manage orders from the Ironbeam mobile app when you’re away from your main setup.
Is the workspace free?
Workspace customization is included with your Ironbeam account, whether you’re using a demo or live account.
Can I run multiple workspaces at once?
Yes. You can create and save multiple named workspaces, for example one for day trading and another for swing monitoring, and switch between them as needed.
Do I need a live account to practice building a workspace?
No. Ironbeam’s demo account lets you build and test your full workspace, including bracket and OCO orders, before committing real capital.
Will my workspace transfer between desktop and web?
Saved workspace settings are tied to your Ironbeam account, allowing consistent access to your configurations across supported platforms.
What’s the fastest way to learn the platform beyond this guide?
The Ironbeam Platform Tutorial video walks through live widget configuration, charting, and indicator setup step by step, which pairs well with hands-on practice in your demo account.
Ready to build your workspace? Open an Ironbeam account to get started on demo or live, and watch the full Ironbeam Platform Tutorial for a guided walkthrough of every widget covered here.
About the Author
Brent Murphy is a Series 3-licensed broker and Business Development Specialist at Ironbeam. For the past six years, he has partnered with traders, introducing brokers, funds, CPOs, and CTAs, delivering technology, trading, and clearing solutions to help clients succeed in the futures markets.
Disclaimer: There is a substantial risk of loss in trading commodity futures and options products. Losses in excess of your initial investment may occur. Past performance is not necessarily indicative of future results. Please contact your account representative with concerns or questions. The information contained here is accurate to the best of our knowledge at the time of this writing. However, various circumstances may change over time which could affect the accuracy of the information presented. Ironbeam Inc makes no guarantees and recommends verifying details before making any decisions based on this content.